Parts Removed:
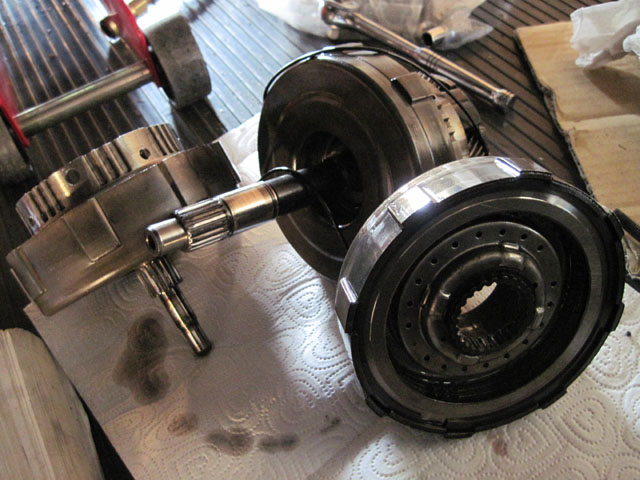
Rear cluch (foreground), O/D planetary gear and input shaft (top right), front clutch (top left)
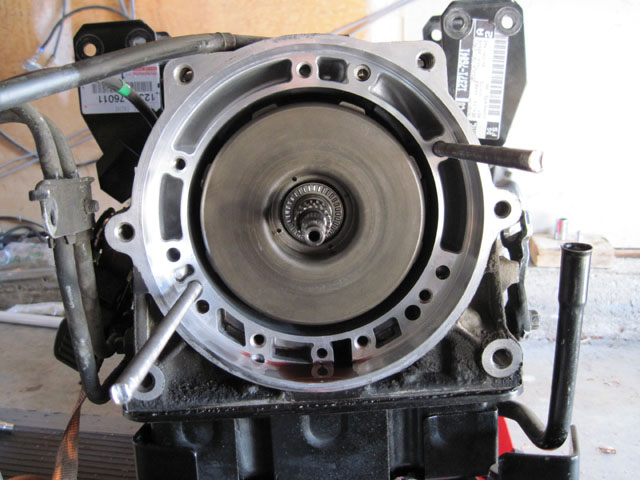
Center Support
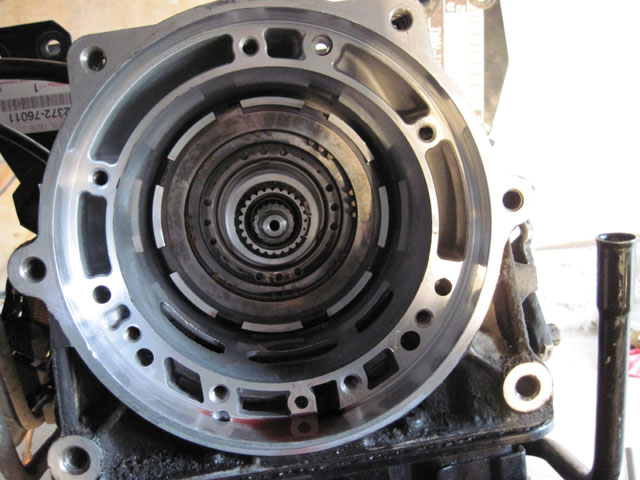
View of center support that the rear clutch locks into. Don't remove the rear clutch! It typically does not come out with the O/D case and front clutch, but I removed it anyway. It's a pain to get back on (the splines of the rear clutch have to mesh with the flukes (those 3 little sets of teeth every inch or so) and it was very difficult to do. It is fully installed when the splined center of the clutch is flush with the splines of the sun gear shaft.
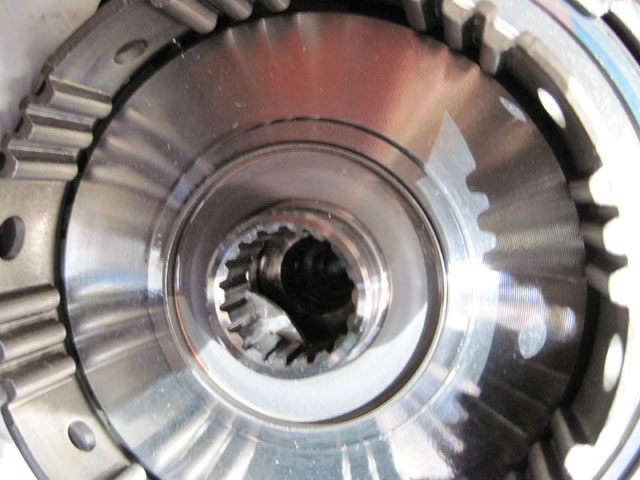
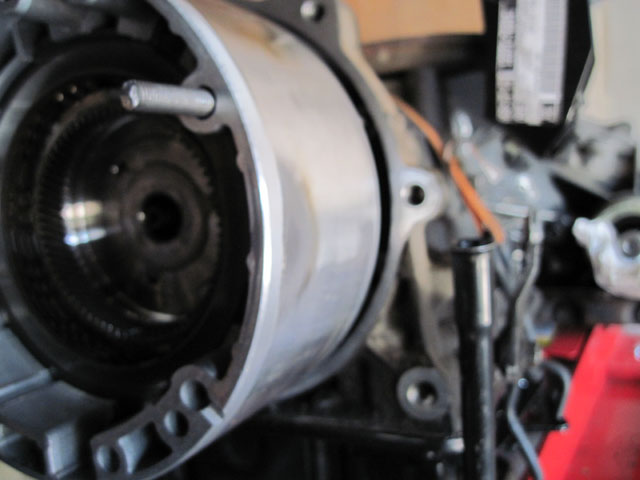
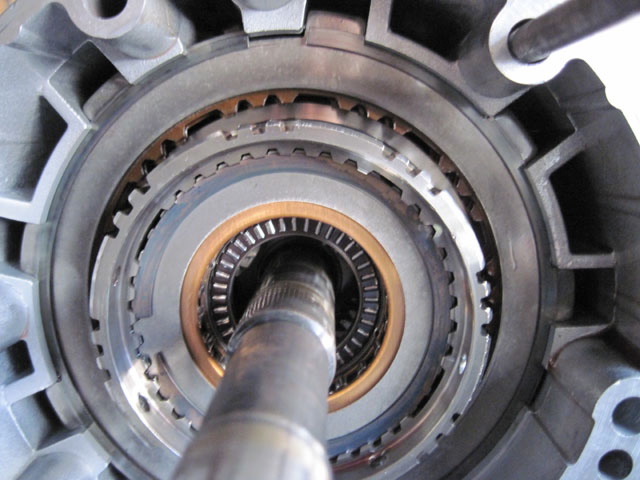
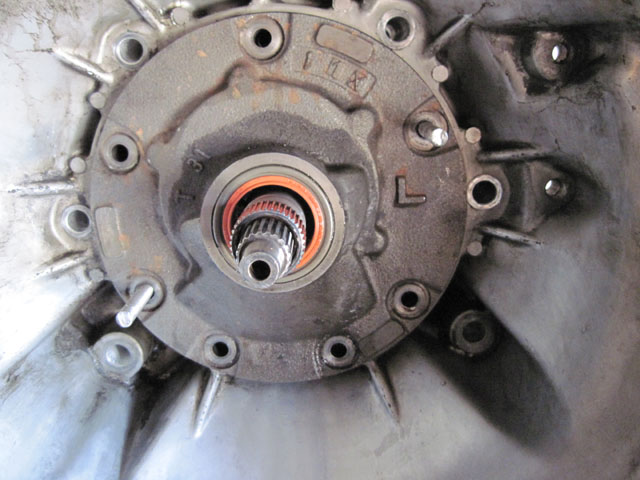
Rear Clutch Installed
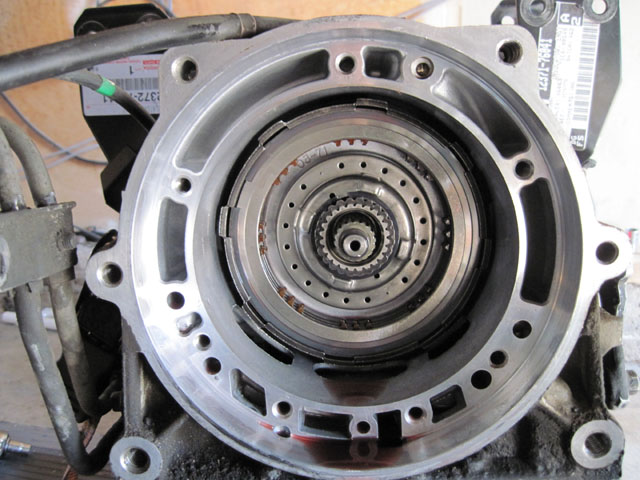
Rear clutch fully installed. The front side of the rear clutch has 3 sets of flukes that the splines of the front clutch must mesh with.
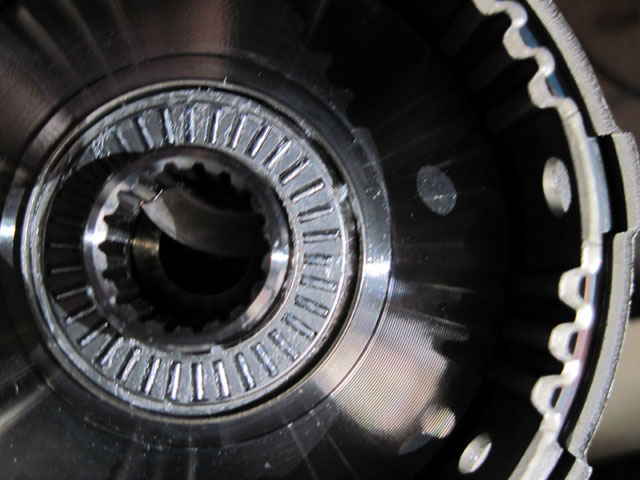
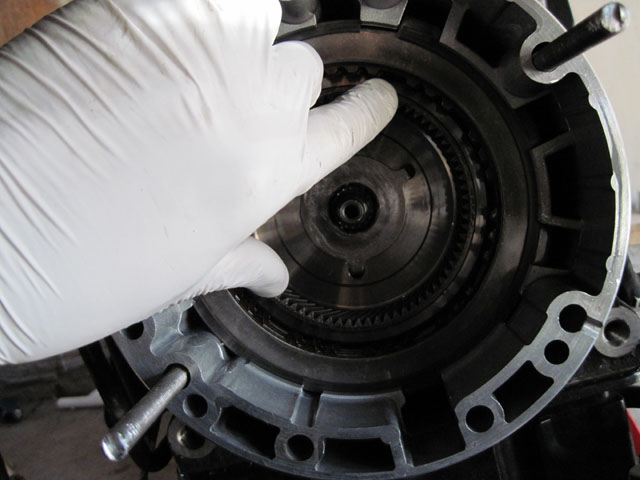
Rear Clutch - Another View
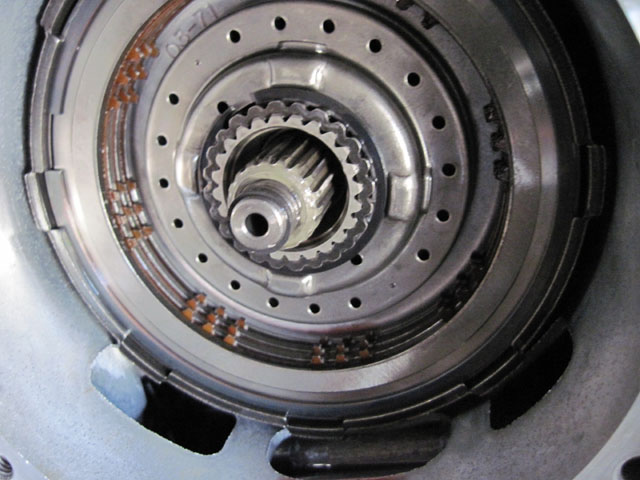
Another shot of the rear clutch which shows the splined center of the clutch flush with the splines of the sun gear shaft
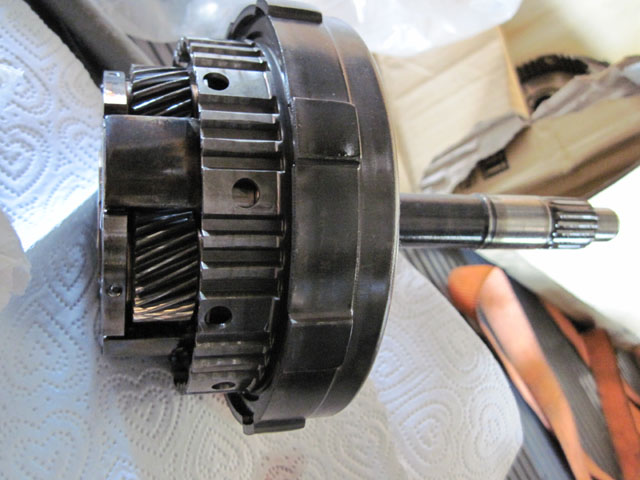
Front clutch
The front clutch has a ring in the center than tends to fall to the bottom. It must be centered in the clutch before installation or it will hang up on the sun gear shaft.
Front clutch - Another View
Another shot of the ring inside the front clutch, almost in place. Shake the front clutch until the ring is centered.
Front clutch - Ready to install
Front clutch with the center ring properly positioned in the center of the clutch so it will slide onto the sun gear shaft.
M8 x 1.25 Threaded Rod
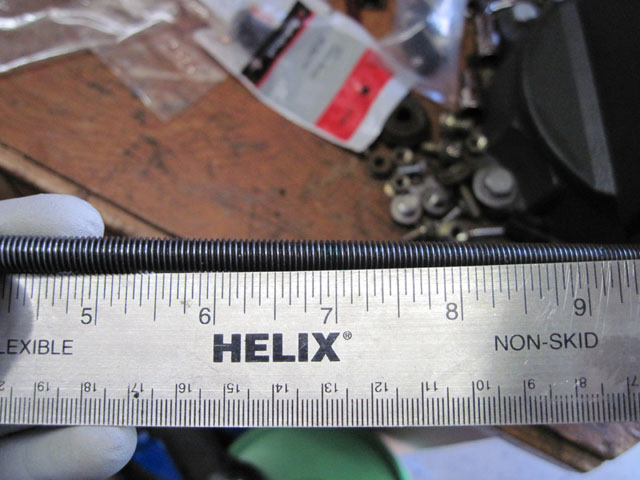
The FSM calls for 2 SSTs which thread into the transmission case for installation of the O/D case and bell housing. Since I couldn't find bolts long enough, I purchased a 1m length of M8 x 1.25 pitch threaded rod, and cut two lengths to 7" each.
Front clutch installed
Front clutch is installed and the two makeshift SST threaded rods have been inserted. One note on installing the front clutch: I found that turning the output shaft of the trans while pressing on the front clutch allowed it to sink in further than I could otherwise get it in. The first time I assembled this, I didn't get the front clutch in far enough and it prevented the output shaft from turning CCW (no reverse). When properly installed, it should be just slightly recessed *behind* the face of the transmission case.
Installing the O/D case
Installing the O/D case is facilitated with the makeshift SST alignment bolts.
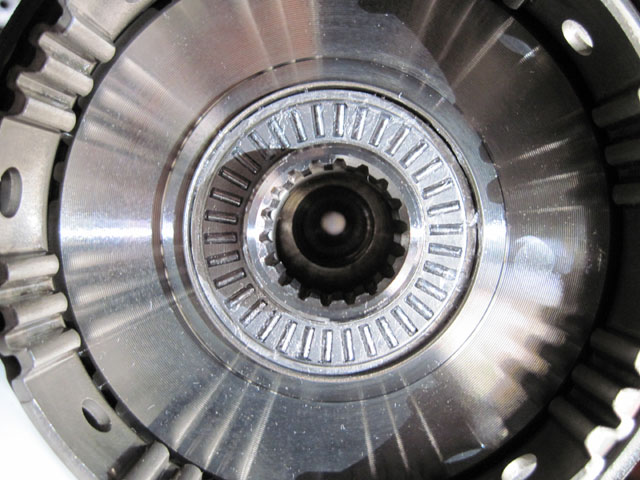
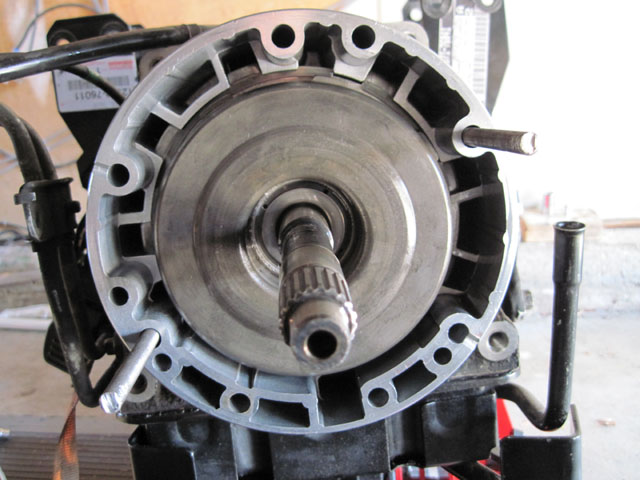
Front side of O/D case
After installing the O/D case, make sure this gear is pushed in and fully seated on the shaft.
O/D planetary gear, input shaft, and one-way clutch
Now install the O/D planetary gear, input shaft, and one-way clutch. The FSM instructs to install this as a unit, but I found it much easier to separate the one-way clutch from the planetary gear/input shaft and install them one at a time.
O/D planetary gear and input shaft installed
Here the O/D planetary gear and input shaft is installed. The flukes on the front of the O/D planetary gear must mesh with the splines of the one-way clutch, which is installed next.
One-way clutch
Here is the one-way clutch installed on the O/D planetary gear. When installed correctly, the rear of the clutch should nearly touch the front of the O/D planetary gear, with just enough clearance to allow free rotation of the one-way clutch.
Bell Housing o-ring
Coat a new bellhousing o-ring in ATF and install it on the O/D case.
Backside of oil pump inside bell housing

Make sure the assembled bearing and race are properly installed on the back of the oil pump in the bell housing. If necessary, coat the back of the bearing with petroleum jelly to keep it held in place. I also coated the inside of the bell housing and the outside of the O/D case with ATF to make them slide together easier.
Installing the bell housing
Slide the bell housing over the O/D case. I left the threaded rod installed at this point, which may have been a mistake. It was very difficult to get the rods through the holes in the pump, and they actually dislodged the pump from the bell housing a little. I got it pushed back in, but now I have an oil leak from the bell housing and I suspect the pump is probably leaking. In the future, I would remove the threaded rod at this point and just slide the bell housing over the O/D case and bolt it up. The pump should be properly aligned once the bell housing is bolted up, because the pump is typically stuck in the bell housing in the correct position.
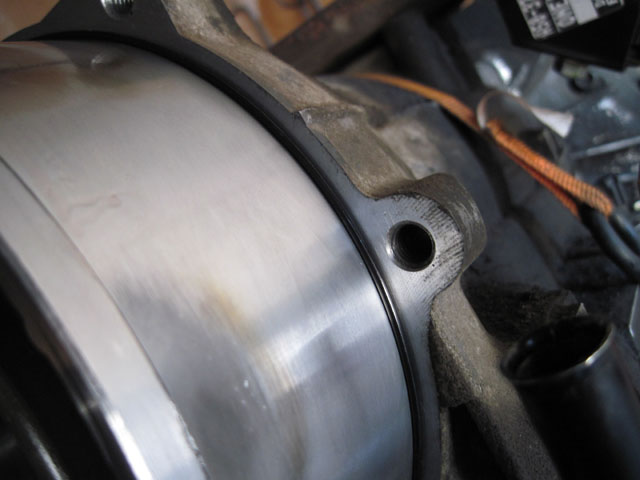
Bell housing installed
Bell housing and oil pump fully seated flush with the transmission case.
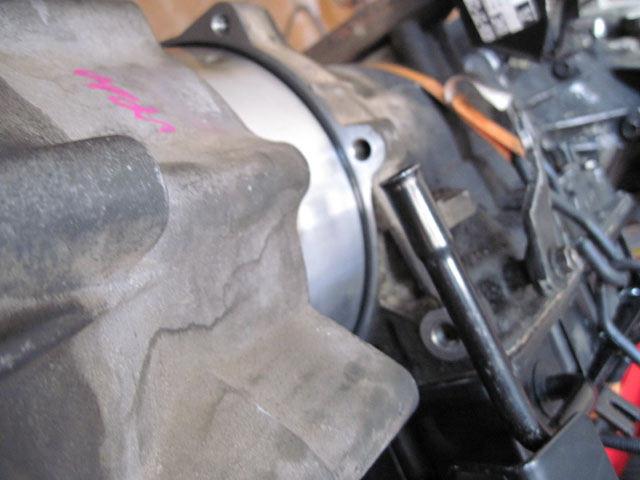
All done
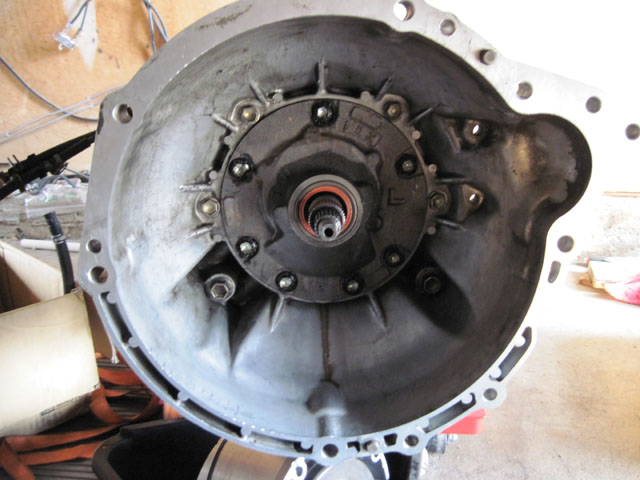
All bolts are in and the the transmission is fully reassembled. Torque is 42 ftlb for the two larger 17mm head (M12) bolts, 25ftlb for the 14mm head (M10) bolts, and 16 ftlb for the pump bolts (12mm head, M8x1.25). Put sealant on the heads of the pump bolts.
Torque converter
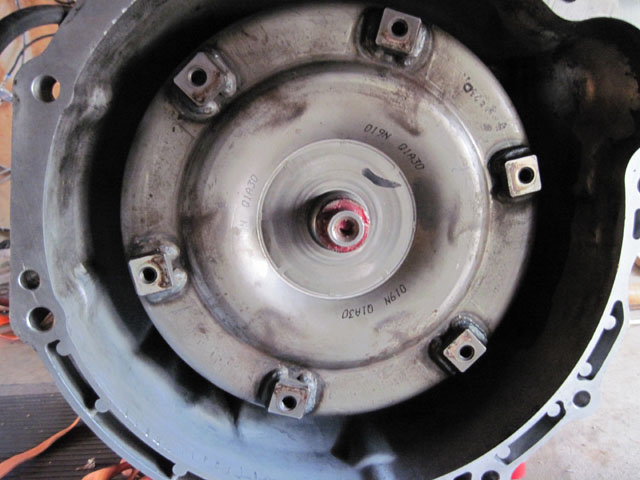
Torque converter installed on the transmission. Make sure the notches on the converter slip into the "teeth" in the oil pump. Getting this is on is a piece of cake after getting the clutches to mesh with the flukes. I coated the nose of the conveter with grease to help avoid getting hung up inside the flex plate when installing it into the van.
That's about it. If all went well, the output shaft should turn freely in both directions in all gear settings except park. Eric

 I can't
stop collecting vans
I can't
stop collecting vans  OMG! Help
Me!
OMG! Help
Me!